The time is finally here!!! My husband and I have wanted to do this project since we first put a deposit down on our house. Besides being an accountant my husband also runs his family’s small manufacturing company which made collecting old pallets extremely easy and the best part, FREE. When we first envisioned this project we didn’t realize we were going to have a small (5”x5”) bulk head across the feature wall. Although I was extremely disappointed at first I ended up loving the overall look of the finished project.
First thing we did was start collecting wood! Make sure you look out for certain stamps though so you can avoid bringing dangerous chemicals into your house. Check out Diyready.com for more information.
Next we (I mean my husband) separated all the pallets, salvaged all the usable wood pieces, and started cleaning and sanding them down. We decided to be cheap so we literally hand sanded everything. First we used a coarse sand paper and then a fine. Somehow this process made me sorer then even my recent AIR classes. Ha. Since most of our boards weren’t as worn as we wanted we decided to get a few different wood stains to help imitate the look. This is where things got a little messy. I ended up with black fingernails for a few days but it was totally worth it! (And for the record I did start out by wearing gloves but they became too much of a hassle so I said F it!)


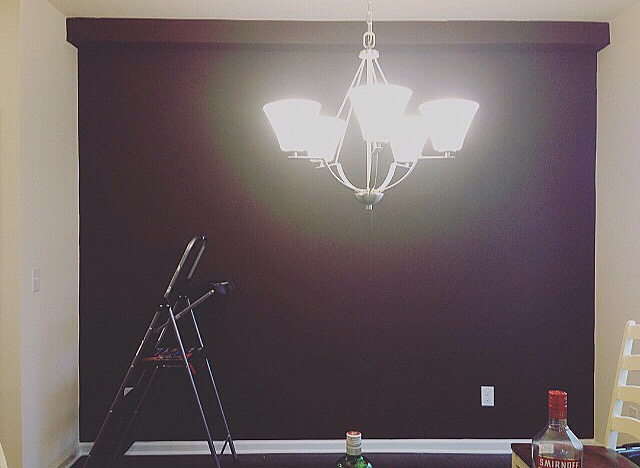
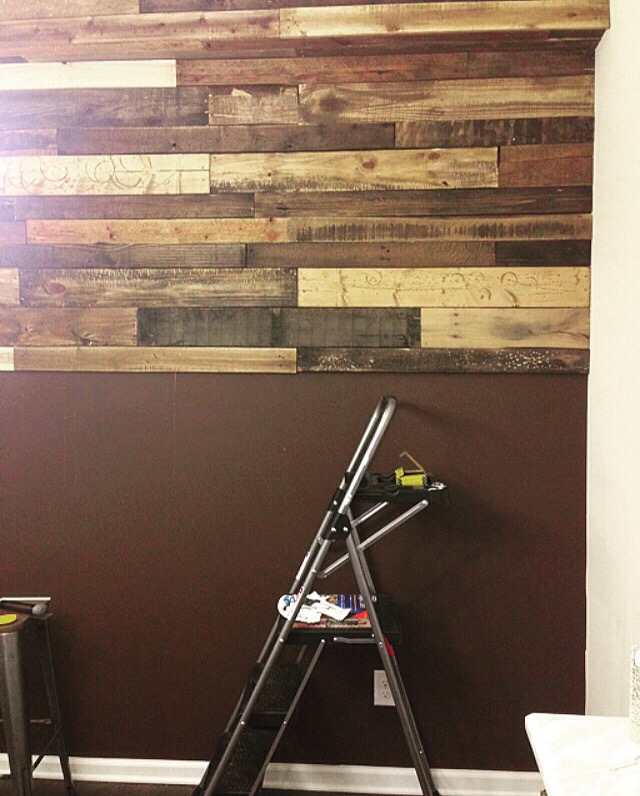
Now it’s time to prep the wall. Since the boards are weathered, bowed, and also have knots or nail holes we painted the wall a similar color to the wood. That way there wouldn’t be a glaring white line in every single gab or hole once the wall is completed.

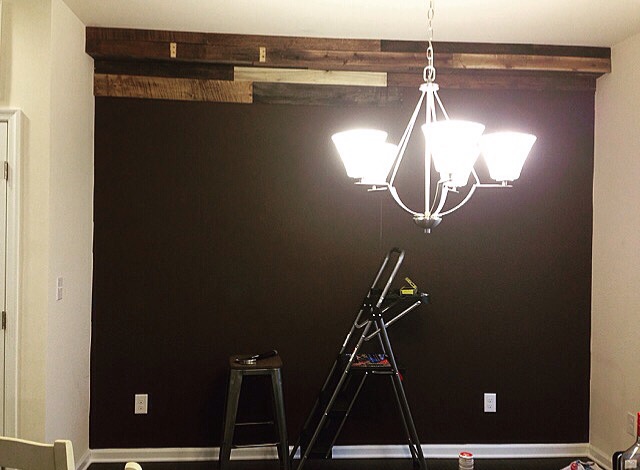
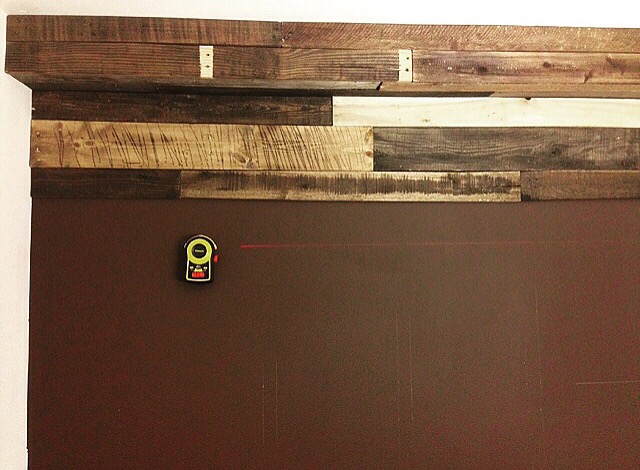
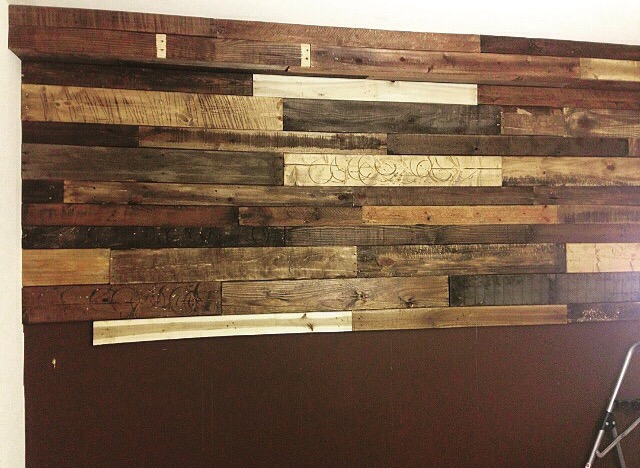
After all that groundwork it was finally time to actually put up the wood! Always start at the place that will be most noticeable. For us that is the top! This is because your walls may not fit the perfect amount of pallets so you will want the last piece (or partial piece) to be towards the bottom and out of your immediate sight line. We attached the wood with wood glue and then a few finishing nails into the studs. We also invested in a laser leveler to makes sure we stayed relatively straight throughout the process.


We also had two outlets to address on our wall so we had to buy extenders to pull the plugs out to be flush with the wood.


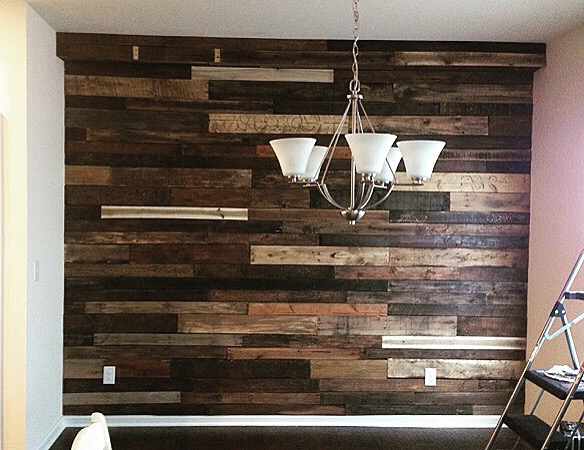
Overall I am completely in LOVE with our new wall! It really brings so much warmth into our living space. If only someone would pay me to redecorate my house, then this would totally be my dream job.